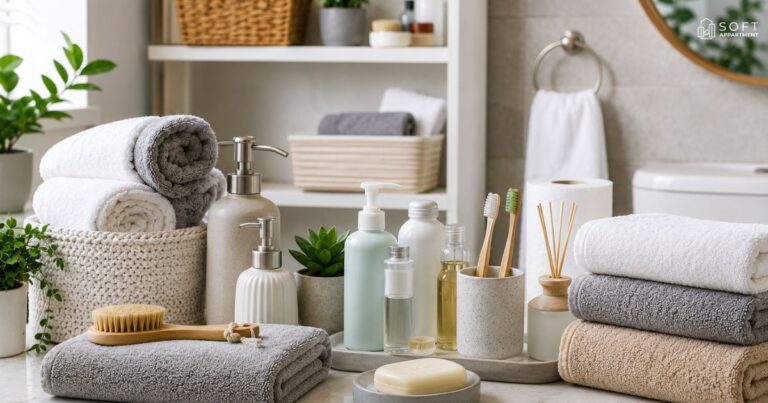









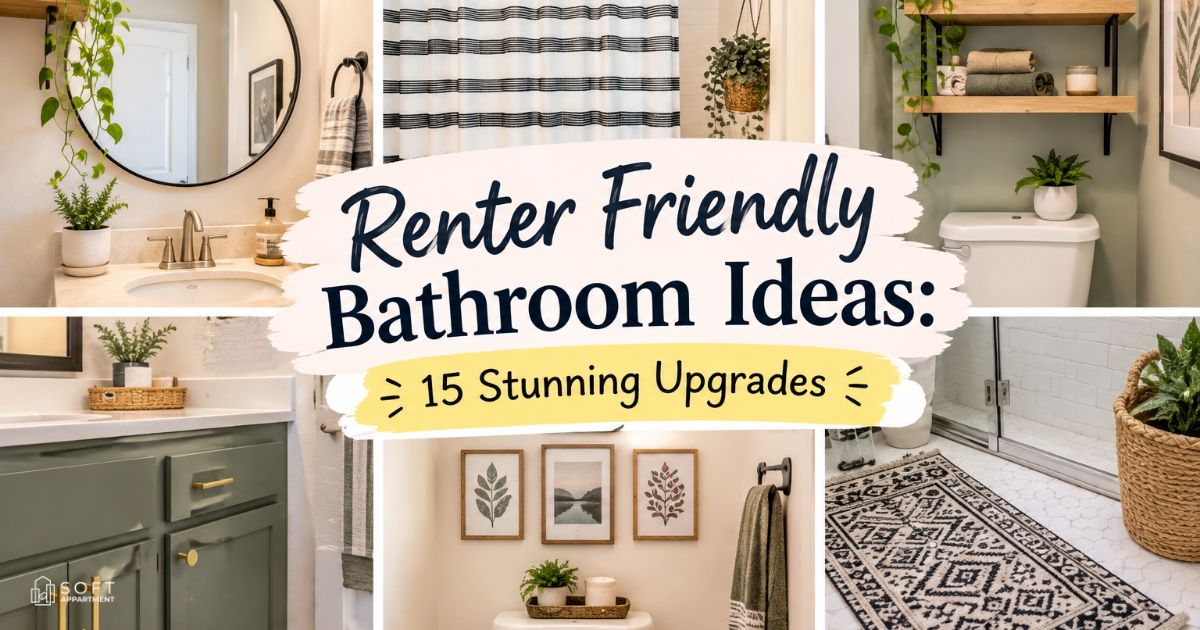
Does your rental bathroom look stuck in 1995? You’re not alone. The good news is that you don’t need a drill or a contractor. These renter friendly bathroom ideas will refresh the room in one weekend. Each one is cheap and simple. Best of all, every project comes off cleanly, so these damage-free bathroom upgrades protect your wallet. Want more ideas for the rest of your home? Browse our rental friendly upgrades collection.
The Golden Rule: Everything Must Come Off Cleanly
Here’s the one rule that matters most. If an upgrade can’t come off cleanly, skip it. Your security deposit depends on that rule. Landlords inspect walls, floors and fixtures at move-out. A single hole or sticky stain can cost you real money.
Every one of these renter friendly bathroom ideas follows the same standard. You won’t drill, paint or use permanent glue. Pros call this no-damage installation. These are non-permanent upgrades you can undo in minutes. The table below shows which choices are safe and which are risky.
| Upgrade type | Safe or risky | Why it matters |
|---|---|---|
| Removable adhesive hooks | Safe | Gentle heat releases them |
| Tension rods | Safe | Pressure holds them with no screws |
| Plug-in wall sconce | Safe | No wiring is needed |
| Standard wallpaper | Risky | It can tear off paint |
| Painted grout | Risky | You can’t undo it |
| Hardwired lights | Risky | You need approval and an electrician |
Peel-and-Stick Flooring and Tile Ideas (Fake a Tiled Floor)
Floors make the biggest first impression. A worn floor drags down the whole room. Luckily, a rental bathroom makeover can start right at your feet. Peel-and-stick products copy the look of real tile. They also lift later when you follow the maker’s directions.
Prep work decides how long your floor lasts. Scrub away soap scum and let the surface dry fully. Then measure twice and buy 10 percent extra. Keep the spare pieces for repairs. Finally, test one tile in a corner first. That small step shows how easily it releases.
Upgrade 1: Peel-and-Stick Floor Tiles for Rental Bathrooms
Peel and stick tile is the star of small bathroom upgrades for renters. Most packs cost about $1 to $3 per square foot. Press each tile down firmly and roll it flat with a rolling pin. Keep water off the floor for 24 hours. Moisture is the enemy of any adhesive.
Upgrade 2: Faux Wood Flooring That Looks Real
Vinyl flooring planks give you a warm wood look. Click-lock planks need no glue at all. They simply float on top of the old floor. Choose waterproof vinyl and skip real laminate. Laminate swells when it gets wet. Floating planks also work as temporary bathroom updates that leave nothing behind.
Upgrade 3: Cheap Rugs and the Layered Rug Trick
Rugs are the easiest floor fix of all. Lay a slim runner first and place a smaller washable rug on top. This layered look adds color and texture fast. Add a non-slip pad underneath for safety. You’ll cover ugly flooring without touching it. That makes it a classic easy DIY win.
Removable Wallpaper and Backsplash Ideas
Walls give you the most space to play with. Bold prints can change the mood in an afternoon. Peel and stick wallpaper costs far less than a paint job. It also lifts off when you’re ready to move. Always choose a product labeled for bathrooms.
Backsplashes work the same way. A thin sheet of gel or vinyl tile can hide dated surfaces. Press it on slowly and smooth out the bubbles as you go. These removable bathroom decor options let you try bold looks. You can switch styles whenever you get bored.
Upgrade 4: Removable Wallpaper Accent Wall
Pick one wall and keep it small. The area behind the toilet or vanity works best. Steam can loosen adhesive, so avoid the wall right beside the shower. Clean the surface first and use a smoothing tool. Textured paint may hold less well. Test a small sample before you commit.
Upgrade 5: Peel-and-Stick Backsplash for the Vanity
A peel-and-stick backsplash behind the sink protects the wall from splashes. Subway and marble patterns look the most upscale. Cut pieces with scissors around the faucet. Press from the center outward. Heat from a hair dryer helps the edges lie flat. Costs often run $2 to $5 per tile sheet.
Peel-and-Stick vs. Paint: Which Wins for Renters?
Paint looks great, but it carries risk. Many leases ban it without landlord approval. Peel-and-stick wins when you want to undo changes. The table below compares the two.
| Feature | Peel-and-stick | Paint |
|---|---|---|
| Typical cost | $30 to $100 | $40 to $120 |
| Time to finish | 2 to 4 hours | A full day or more |
| Removal | Peels off | Needs repainting |
| Deposit risk | Low | High |
Easy Fixture Swaps (Shower Head, Faucet, Toilet Seat and Handle)
Small hardware changes make a big difference. Shiny new pieces make an old bathroom feel cared for. Best of all, most swaps need only a wrench and ten minutes. These are some of the smartest budget bathroom ideas because the parts cost little.
One habit protects you here. Always keep the original parts in a labeled bag. Take a photo of the room before you start. At move-out, you’ll reinstall the old pieces in minutes. Your landlord sees the same fixtures that were there on day one.
Upgrade 6: Swap the Shower Head (and Keep the Original)
A new shower head takes about ten minutes. Unscrew the old one by hand or with a cloth-wrapped wrench. Wrap fresh plumber’s tape on the threads and twist on the new head. Rainfall and handheld styles feel luxurious. Store the old head in a bag for move-out day.
Faucet Cover Update
Some renters can’t replace a faucet. Fortunately, you can still refresh it. Removable faucet covers add a modern shape. You can also swap the small aerator for a sleeker one. Ask your landlord before you change anything with water lines. Many leases treat plumbing as off limits.
Upgrade the Toilet Seat and Handle
A soft-close toilet seat feels like a real upgrade. It installs with two bolts and a screwdriver. Swapping the flush handle takes five minutes too. Choose brushed nickel or matte black to match your other metal pieces. Keep both original parts in a bag and put them back before you leave.
Replace Cabinet Hardware (Keep the Originals)
New knobs and pulls refresh a dull cabinet. Match the hole spacing so the new pieces fit the old holes. Unscrew the old hardware and drop it in a bag. Label the bag with the room name. This simple swap gives your vanity a boutique look for under $20.
Lighting and Mirror Upgrades
Good light can turn a gloomy bathroom into a spa. Bad light makes even new décor look tired. Most rentals use harsh overhead bulbs. You can soften them without touching any wiring. Mirrors also help because they bounce light around and make the room feel bigger. For more help in other rooms, read our guide to apartment lighting ideas.
Think about safety as you plan. Keep every cord far from water and use outlets with GFCI protection. Those outlets shut off power fast if moisture gets in. Check your lease before you add anything electrical. Smart choices keep your apartment bathroom decor stylish and safe.
Upgrade 7: Plug-In Wall Sconce
A plug-in sconce gives you wall light with no electrician. Hang it with command strips or a single removable hook. Hide the cord with a paintable cord cover. Place it near the mirror so your face stays evenly lit. It’s a pretty solution for dark vanities.
Upgrade 8: Lean a Large Mirror or Add a Peel-and-Stick Mirror Frame
A big leaning mirror doubles the visual space. Stand it on the floor against the wall and add a small wedge to keep it from sliding. Alternatively, use a peel-and-stick frame kit around a plain builder mirror. Both options add style without a single nail.
Mirror Swap and Warm Bulbs
Bulb color changes everything. Look for 2700K on the package. That number means a warm, soft glow. Cooler bulbs feel clinical and harsh. Swap your old bulbs for warm LEDs and you’ll notice the difference at once. Keep the old bulbs in case your lease requires the same type.
No-Drill Storage Ideas for Small Bathrooms
Clutter makes a small bathroom feel even tinier. Luckily, no-drill bathroom storage gives you shelves without damage. These pieces lean, hang, stand or stick. None of them needs a screw. Smart small space storage also helps you declutter and organize your daily products. Need the same trick at your front door? See these apartment entryway ideas.
Think in zones before you buy. Look at the tub, toilet, sink and door separately. Each area suits a different tool. Measure the space first because small mistakes waste money. The table below shows where each piece fits best.
| Bathroom zone | Best no-drill solution |
|---|---|
| Tub | Tension rod shelf |
| Toilet | Over-the-toilet étagère |
| Sink | Tray and suction organizers |
| Door | Over-the-door hooks |
| Corner | Ladder shelf |
Upgrade 9: Tension Rod Shelves Over the Tub
A tension rod shelf uses pressure to hold itself between two walls. Pick a rust-proof model for steamy rooms. Most hold about 5 to 10 pounds. Check the weight limit before you stack bottles. Install it above the tub for shampoo and sponges. It’s a tidy way to use dead space.
Upgrade 10: Over-the-Toilet Étagère
Over the toilet storage is a renter favorite. A freestanding étagère needs no wall anchors. It stands on its own legs above the tank. Use the top shelf for plants and the lower shelves for towels. Choose a slim design so it doesn’t crowd the space.
Ladder Shelf Lean
A ladder shelf leans against the wall with no hardware. Its slim shape fits tight corners. Fill it with rolled towels and small baskets. Place heavier items on the bottom shelf to keep it stable. It also adds a cozy, spa-like look.
Rolling Storage Cart
A slim rolling cart slides beside the tub and tucks away when you need floor space. Use the three tiers for toiletries and spare rolls. Wheels with locks keep it steady. Many carts also fit inside a closet. That flexibility makes it useful in any rental.
Suction Cup Organizers and Adhesive Hooks
Suction cups hold razors and loofahs on tile. Adhesive hooks hold robes and towels on smooth walls. Always read the weight rating on the package. Press firmly for 30 seconds. To remove, pull the tab straight down and slowly. Never yank the strip outward.
Shower Curtain, Bath Mat and Towel Upgrades
Soft goods work like jewelry for a bathroom. They bring color and comfort in minutes. Best of all, they need no tools. A fresh shower curtain, a plush bath mat and a nice towel rack can change the whole look. They also count as temporary bathroom updates you can pack and take along.
Start with a color plan. Pick two main shades and one accent. White plus soft gray plus a pop of green is a safe formula. Matching fabrics make a small room look calm. Then wash everything weekly to fight mildew. Clean textiles keep your rental bathroom makeover looking fresh.
Upgrade 11: Floor-Length Shower Curtain
A longer curtain adds height and drama. Hang the rod a few inches higher than usual. Then let the fabric reach the floor. This trick makes your ceiling look taller. Pick a heavy fabric for a hotel feel. Fabric curtains also look more expensive than plastic ones.
Curtain Rod Double
Use two rods to layer your look. Hang a clear liner on the inner rod. Put a pretty decorative curtain on the outer rod. The liner handles the water while the outer curtain handles the style. You can wash each one separately. That makes cleanup much easier.
Upgrade 12: Washable Cotton Bath Mat
A good bath mat dries quickly and feels soft underfoot. Cotton works well because you can toss it in the wash. Look for a non-slip backing for safety. Rotate two mats each week so one is always dry. This habit also keeps odors away.
Upgrade 13: Freestanding Towel Rack
Skip the drill and choose a towel rack that stands on the floor. Ladder racks and tall stands both work well. Leave a few inches of gap from the wall for airflow. Folded towels look neat and dry faster. These racks also move with you to your next home.
Budget Décor: Plants, Gallery Wall and Styling
Décor is where your personality shows up. You don’t need big money to get a polished look. A few smart accents make bathroom makeover on a budget goals easy to reach. Think green leaves, framed art and tidy trays. Together they turn a plain room into a place you actually enjoy.
Keep the styling simple. Limit yourself to three colors and a few repeated shapes. Group small items in odd numbers because threes look balanced. Clear the counter before you add anything new. Empty space helps your best pieces shine. Below is a sample $50 shopping plan.
| Item | Estimated cost | Where to shop |
|---|---|---|
| Washable bath mat | $15 | Target |
| Matching soap dispensers | $10 | IKEA |
| Frames with command strips | $10 | Amazon |
| Pothos plant | $8 | Home Depot |
| Small tray | $7 | Lowe’s |
Upgrade 14: Plants for Humid Bathrooms
Plants love steam. Pothos, snake plants and ferns do well in bathrooms. Snake plants also survive low light. Place a pot on the toilet tank or a shelf. Water only when the top soil feels dry. A bit of greenery adds life to a plain space.
Upgrade 15: Command Strip Gallery Wall
A small gallery wall adds charm without nails. Use command strips rated for the weight of each frame. Pick plastic frames because paper can warp in steam. Arrange them on the floor first and then copy the layout on the wall. Remove each strip slowly to protect the paint.
Countertop Tray Styling
A tray makes clutter look intentional. Corral your hand soap, lotion and a candle on one tray. It also catches drips and protects the counter. Choose marble, wood or metal. Wipe it down weekly. This tiny change helps you declutter and organize the busiest surface in the room.
Basket Wall Display
Baskets hung on removable hooks create a rustic feel. Fill them with rolled towels or spare toilet paper. Use lightweight woven baskets so the hooks can hold them. Hang three in a staggered line for a designer look. They add texture and extra storage at once.
Pops of Color on a Budget
Color doesn’t have to cost a lot. A bright soap dispenser, a colorful towel or a patterned bath mat does the job. Pick one accent shade and repeat it twice. For example, add mustard yellow in a towel and a candle. Repetition keeps small rooms looking calm.
What to Ask Your Landlord and How to Undo Everything Before Move-Out
Good communication saves headaches later. Even the safest renter friendly bathroom ideas can break a lease rule. Ask early and get landlord approval in writing. A short email takes two minutes and prevents big disputes. Rules also vary by state and lease, so read yours carefully. You can find local rules on HUD’s state tenant rights pages. Also keep your lease paperwork handy, and our list of documents needed to rent an apartment shows what to save.
Removal matters as much as installation. Plan your undo steps before you start. Remember what Benjamin Franklin said: “An ounce of prevention is worth a pound of cure.” Photos, receipts and a labeled bag of original parts prevent most deposit fights. The timeline below keeps you organized.
| When | What to do |
|---|---|
| Before you start | Take photos and email your landlord |
| Install day | Keep every receipt and original part |
| Every few months | Check that adhesives still hold |
| Two weeks before move-out | Begin removing items |
| Move-out day | Take after photos |
Questions to Ask Your Landlord
Keep your message short and polite. Here’s a sample you can copy:
Hi, I’d like to add peel-and-stick floor tile and a new shower head in the bathroom. I’ll keep the original parts and restore everything before I move out. May I have your approval by email?
Always save the reply. A written yes protects you.
How to Remove Adhesives Without Damage
Heat is your best friend here. Warm the removable adhesive with a hair dryer for 30 seconds. Then peel the edge slowly at a low angle. Never rush or pull hard. If a strip breaks, this step-by-step guide to removing Command strips shows the dental floss trick. If residue stays behind, rub it with a little soapy water. Test any cleaner in a hidden spot first.
Security Deposit Tips
Your security deposit rests on proof. Take clear before and after photos of every wall and floor. Save receipts for removable products. For example, one renter named Maya (a sample scenario) installed floor tile and kept her photos. She peeled it up on move-out day and got her full deposit back. Records made the difference.
Final Thoughts
You don’t need a big budget or a landlord’s blessing to love your bathroom. These renter friendly bathroom ideas show how much a few smart swaps can do. Start with one small project such as a new shower curtain or a plug-in light. Then build from there.
Remember the golden rule as you shop. Choose items that come off cleanly and keep your receipts. Which upgrade will you try first? Share your favorite idea in the comments and tell us how your bathroom turned out. We’d love to hear your story.
Frequently Asked Questions
What bathroom upgrades can renters do without permission?
Most renters can add rugs, curtains, plants, towel racks and plug-in lights without asking. These items don’t alter walls or floors. Still, read your lease first. Some buildings limit even small changes. When in doubt, send your landlord a quick email.
Does peel-and-stick tile damage the floor?
Peel-and-stick tile usually leaves sealed vinyl floors unharmed. However, results vary with floor age and adhesive strength. Old or porous surfaces may pull up with the tile. Always test one small patch in a hidden corner first. Heat also helps loosen the tiles later.
How much do renter friendly bathroom ideas cost?
A mini refresh costs about $50 with a mat, a plant and new accessories. A bigger rental bathroom makeover with flooring, lighting and storage runs $300 to $600. Your total depends on bathroom size and the brands you pick. Shopping sales cuts costs further.
Which upgrade makes the biggest difference?
Peel-and-stick floor tile often gives the biggest visual jump. Lighting and a new mirror come close behind. Both change how the room feels the moment you walk in. If money is tight, swap the bulbs to warm LEDs. It’s cheap and quick.